Setup
This section explains in detail how to build the components of the CiphereCell Configurator ecosystem, and how to set up the testbed.
Setup the Testbed
In general the setup process consists of the following steps:

The setup process is fully automated, and can be executed with a single command.
Run the runa_all.sh script from the root of the repository to execute all steps described in the figure above.
Additionally a virtual python environment is created, and all required dependencies are installed.
> ./run_all.sh                                                                                                                                          09:03:14
Install python dependencies
╭──────────────────────────────────────────────────────────────────────────────────────────────────────────╮
│                                                                                                          │
│                                                                                                          │
│       ██████╗██╗██████╗ ██╗  ██╗███████╗██████╗  ██████╗███████╗██╗     ██╗                              │
│      ██╔════╝██║██╔══██╗██║  ██║██╔════╝██╔══██╗██╔════╝██╔════╝██║     ██║                              │
│      ██║     ██║██████╔╝███████║█████╗  ██████╔╝██║     █████╗  ██║     ██║                              │
│      ██║     ██║██╔═══╝ ██╔══██║██╔══╝  ██╔══██╗██║     ██╔══╝  ██║     ██║                              │
│      ╚██████╗██║██║     ██║  ██║███████╗██║  ██║╚██████╗███████╗███████╗███████╗                         │
│       ╚═════╝╚═╝╚═╝     ╚═╝  ╚═╝╚══════╝╚═╝  ╚═╝ ╚═════╝╚══════╝╚══════╝╚══════╝                         │
│                                                                                                          │
│       ██████╗ ██████╗ ███╗   ██╗███████╗██╗ ██████╗ ██╗   ██╗██████╗  █████╗ ████████╗ ██████╗ ██████╗   │
│      ██╔════╝██╔═══██╗████╗  ██║██╔════╝██║██╔════╝ ██║   ██║██╔══██╗██╔══██╗╚══██╔══╝██╔═══██╗██╔══██╗  │
│      ██║     ██║   ██║██╔██╗ ██║█████╗  ██║██║  ███╗██║   ██║██████╔╝███████║   ██║   ██║   ██║██████╔╝  │
│      ██║     ██║   ██║██║╚██╗██║██╔══╝  ██║██║   ██║██║   ██║██╔══██╗██╔══██║   ██║   ██║   ██║██╔══██╗  │
│      ╚██████╗╚██████╔╝██║ ╚████║██║     ██║╚██████╔╝╚██████╔╝██║  ██║██║  ██║   ██║   ╚██████╔╝██║  ██║  │
│       ╚═════╝ ╚═════╝ ╚═╝  ╚═══╝╚═╝     ╚═╝ ╚═════╝ ╚═════╝ ╚═╝  ╚═╝╚═╝  ╚═╝   ╚═╝    ╚═════╝ ╚═╝  ╚═╝   │
│                                                                                                          │
│                                                                                                          │
╰──────────────────────────────────────────────────────────────────────────────────────────────────────────╯
2026-02-10 09:03:20,525 [INFO] Using configuration file: /Users/ciphercell/ciphercell_configurator/config/build_configuration.yml
2026-02-10 09:03:20,529 [INFO] Parse Environment Configuration
2026-02-10 09:03:20,529 [INFO] Parse near-RT RIC Configuration
2026-02-10 09:03:20,529 [INFO] Parse near-RT RIC Network Configuration
2026-02-10 09:03:20,529 [INFO] Configured subnet: 10.0.2.0/24
2026-02-10 09:03:20,529 [INFO] Configured dbaas_ip:10.0.2.12
2026-02-10 09:03:20,529 [INFO] Configured e2term_ip:10.0.2.10
2026-02-10 09:03:20,529 [INFO] Configured e2mgr_ip:10.0.2.11
2026-02-10 09:03:20,529 [INFO] Configured submgr_ip:10.0.2.13
2026-02-10 09:03:20,529 [INFO] Configured appmgr_ip:10.0.2.14
2026-02-10 09:03:20,529 [INFO] Configured rtmgr_sim_ip:10.0.2.15
2026-02-10 09:03:20,530 [INFO] Configured xapp_runner_ip:10.0.2.20
2026-02-10 09:03:20,530 [INFO] Identified Commit e44a7ce239b3c908e842163f1d57cbb4ba43fd0a for ComponentIdentifiers.CFG_NEAR_RT_RIC
2026-02-10 09:03:20,530 [INFO] Identified Repository https://github.com/srsran/oran-sc-ric.git for ComponentIdentifiers.CFG_NEAR_RT_RIC
2026-02-10 09:03:20,530 [INFO] Identified Commit 1f04cc558ebc8da9de6a620762bc02f5db4ecb4a for ComponentIdentifiers.CFG_NEAR_RT_RIC
2026-02-10 09:03:20,530 [INFO] Identified Repository https://gitlab.eurecom.fr/mosaic5g/flexric.git for ComponentIdentifiers.CFG_NEAR_RT_RIC
....
Make sure to have Docker running, and that you have permission to execute Docker commands.
Otherwise the program will fail with an error 2026-02-10 09:02:15,644 [ERROR] Docker does not appear to be running. Please start Docker before building components.
The program will then start the automated build process, which can take several minutes. The different phases as mentioned in the figure above are marked in the terminal
e.g. ***********Patch Components*********** or ***********Build Components***********
Afer sucessfully building you should see the following output in the terminal:
***********Run Demo***********

2026-02-10 09:08:06,054 [INFO] Found matching ue configuration for ue1
2026-02-10 09:08:06,054 [INFO] Found matching ue configuration for ue2
2026-02-10 09:08:06,054 [INFO] Found matching ue configuration for ue3
2026-02-10 09:08:06,115 [INFO] Create session: oran_demo_0
2026-02-10 09:08:06,162 [INFO] Create session: oran_demo_1
2026-02-10 09:08:06,896 [INFO] All programs started!
2026-02-10 09:08:06,897 [INFO] The following tmux sessions are currently running: oran_demo_0, oran_demo_1
2026-02-10 09:08:06,897 [INFO] Currently selected terminal: apple_terminal
2026-02-10 09:08:06,897 [INFO] About to execute the following commands to attach to tmux sessions:
2026-02-10 09:08:06,897 [INFO] 	osascript -e tell application "Terminal"     activate     do script "{{command}}" end tell tmux attach-session -t oran_demo_0
2026-02-10 09:08:06,897 [INFO] 	osascript -e tell application "Terminal"     activate     do script "{{command}}" end tell tmux attach-session -t oran_demo_1
Do you want me to execute the commands listed above?
1: Yes, open the terminal windows for me
2: No, just keep running the demo in the background
3: No, choose other terminal instead
Enter choice (1-3)
Press 1 to automatically open the required terminal windows and attach to the corresponding tmux sessions.

To run the demo in the background, press 2. The tmux sessions can then be attached manually, as indicated in the terminal output:
2026-02-10 09:25:18,505 [INFO] You can connect to the tmux session windows anytime by running the following commands in a terminal of your choice:
2026-02-10 09:25:18,505 [INFO] 	 tmux attach-session -t oran_demo_0
2026-02-10 09:25:18,505 [INFO] 	 tmux attach-session -t oran_demo_1
Press 3 to select a terminal other than the one specified in the demo configuration file.
Enter choice (1-3): 3
Which terminal do you want to use:
1: linux_gnome
2: linux_alacritty
3: apple_terminal
4: apple_iterm
5: None
Press CTRL + C in the build terminal to securely shut down all containers and close the tmux sessions.
Run xApps and Sample Traffic
To verify the correct reception of traffic samples at the RIC, you can run a sample xApp that subscribes to the traffic samples and prints the received samples to the console. To run the xApp, execute the following command in a terminal:
cd ./repositories
docker compose exec python_xapp_runner ./simple_mon_xapp.py --metrics=DRB.UEThpDl,DRB.UEThpUl
⚠️ Note: For the xApp to display sample traffic output, you need to start the traffic generator (trafficker). See the Traffic Generation section for detailed instructions on starting the trafficker and configuring traffic patterns.
Once the trafficker is running, you should see sample output from the xApp, for example:
RIC Indication Received from gnb_001_001_00019b_0 for Subscription ID: 1
E2SM_KPM RIC Indication Content:
- ColletStartTime: 2026-02-05 14:00:00
- Measurements Data:
-granularityPeriod: 100
--Metric: DRB.UEThpDl, Value: [9457.0]
--Metric: DRB.UEThpUl, Value:[212.0]
Start the REST Endpoints
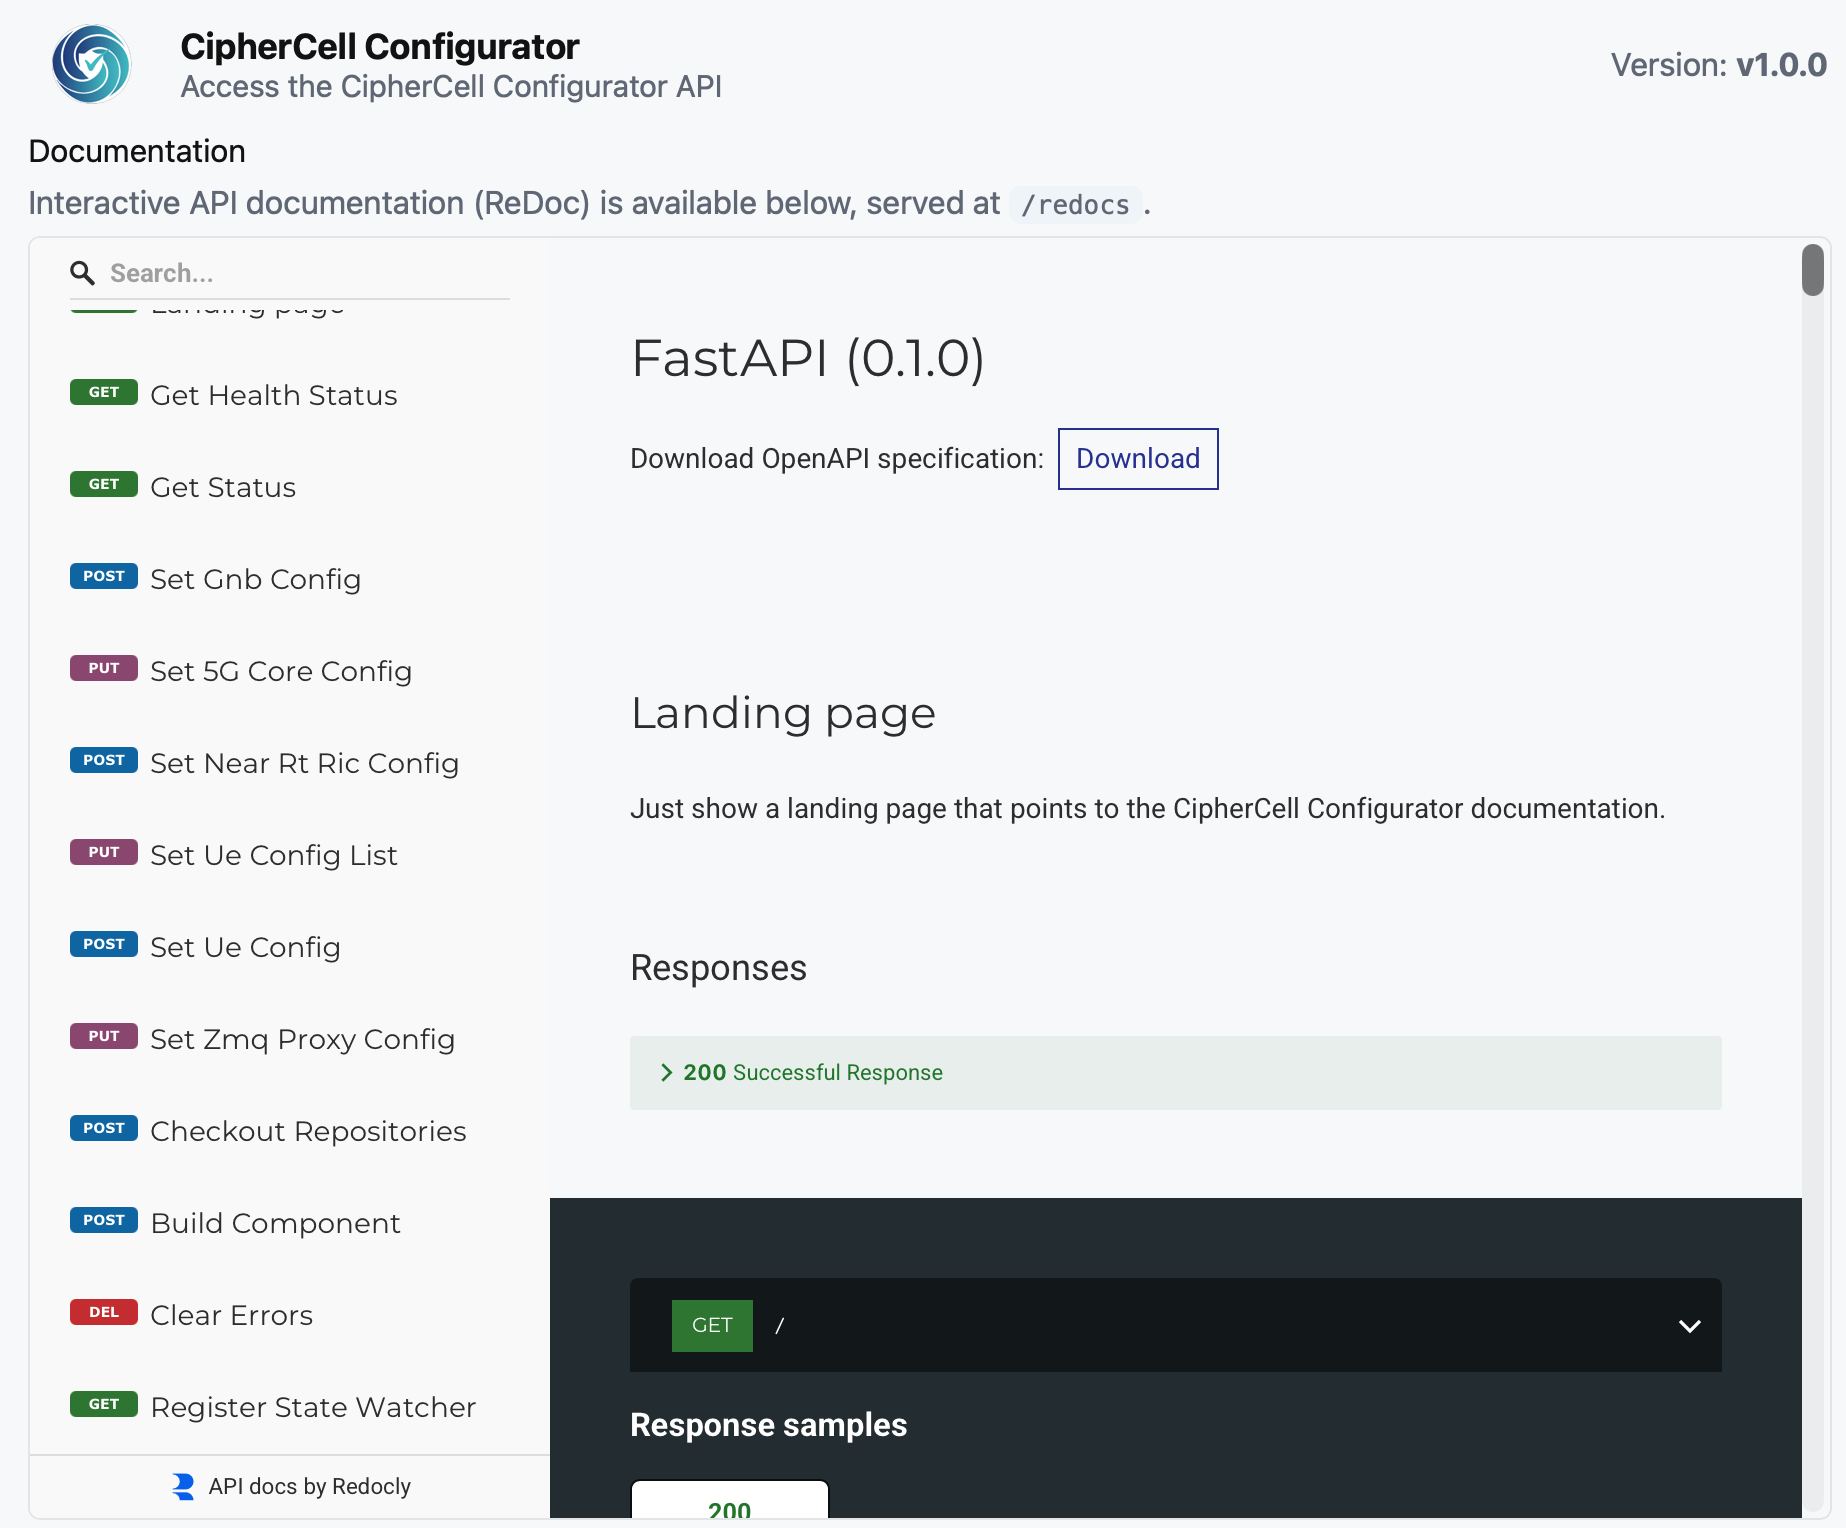
As explained in the configuration section, our program can not only be set up using YAML configuration files, but also via REST API endpoints. This allows for seamless integration with external tools and automation workflows or our GUI explained later. Similar to the build process, we provided a script to start the endpoint:
> ./run_api_endpoint.sh

2026-02-10 09:29:40,743 [INFO] Enable FastAPI Endpoint: True
2026-02-10 09:29:40,743 [INFO] Start FastAPI server at 0.0.0.0:8000
INFO:     Started server process [7492]
INFO:     Waiting for application startup.
INFO:     Application startup complete.
INFO:     Uvicorn running on http://0.0.0.0:8000 (Press CTRL+C to quit)
When typing http://localhost:8000 in the browser, you can access the API documentation.
The format and parameters of the individual commands are identical to those used in the YAML configuration file and must be
provided as JSON payloads. Sample requests can be found in the tests/ directory, specifically in the sample_requests.py file.